|
In this project we had to create a complex design of something that is important/meaningful to you by using multiple basic shapes we learned(are in previous posts). For this project, I chose my dog Browny because he was my first actual pet(not counting fish) and helped me feel less lonely as an only child. He also helps our house feel less lonely when he come in by running and barking towards us to greet us. Browny means a lot to me and my family in many other different ways and we are thankful that we were able to have him be a part of our family. To create this picture below, I had to mostly convert rectangles and eclipses to paths and change its shapes. To put together the shapes, I used a picture of Browny as a guide and layered the shapes above the picture. For the colors, I used the tool for finding the color on the canvas and used it to make sure Browny had the most similar colors to real life as possible. The hardest part overall was the nose because I had to create almost 25 different shapes to get the shape of his nose. But in the end I was able to put the shapes together and created the picture below. 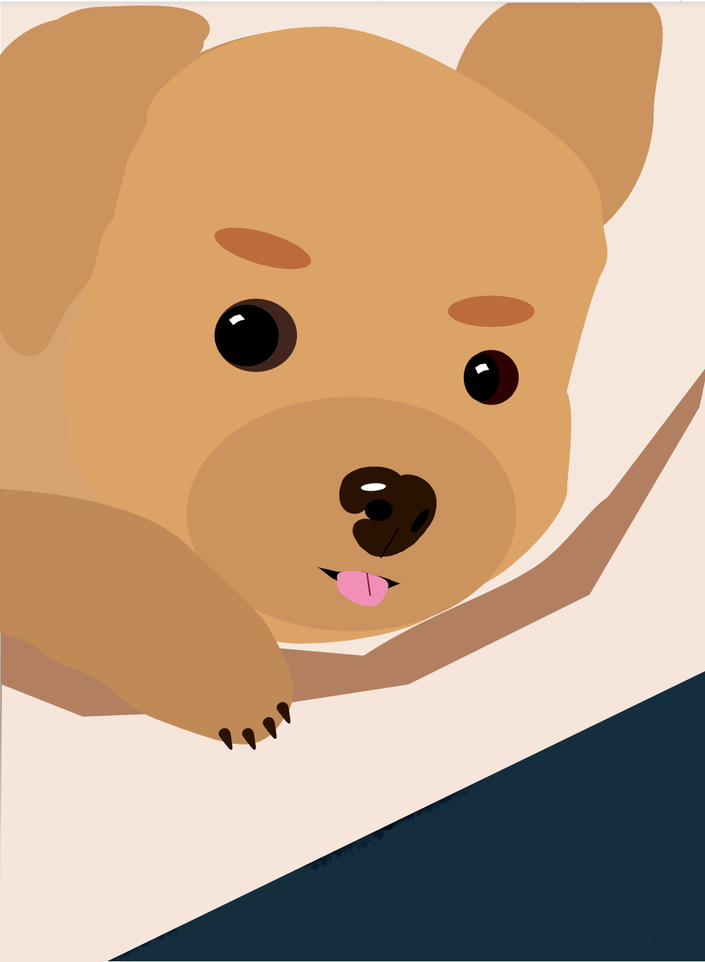
0 Comments
In this lesson, I learned how to make and edit different kinds of shapes. To change the sharpness of the corner of the shape, you can use the slide labeled corners to change it. For other shapes that are not a square, you can change the amount of points there are in the shape by using the points slide. If you would want to change shapes that are overlapping each other you would first have to select both shapes. To make the two or more shapes into one shape, you would have to choose the union button. To get rid of everything in the area of one shape(including the overlapping part), you can use the subtract tool. For only leaving out/subtracting the part where the two or more shapes intersect, you can use the intersect/difference button. You can find all these tools in button that has 2 overlapping squares in the tool bar. Here is a picture of my work. 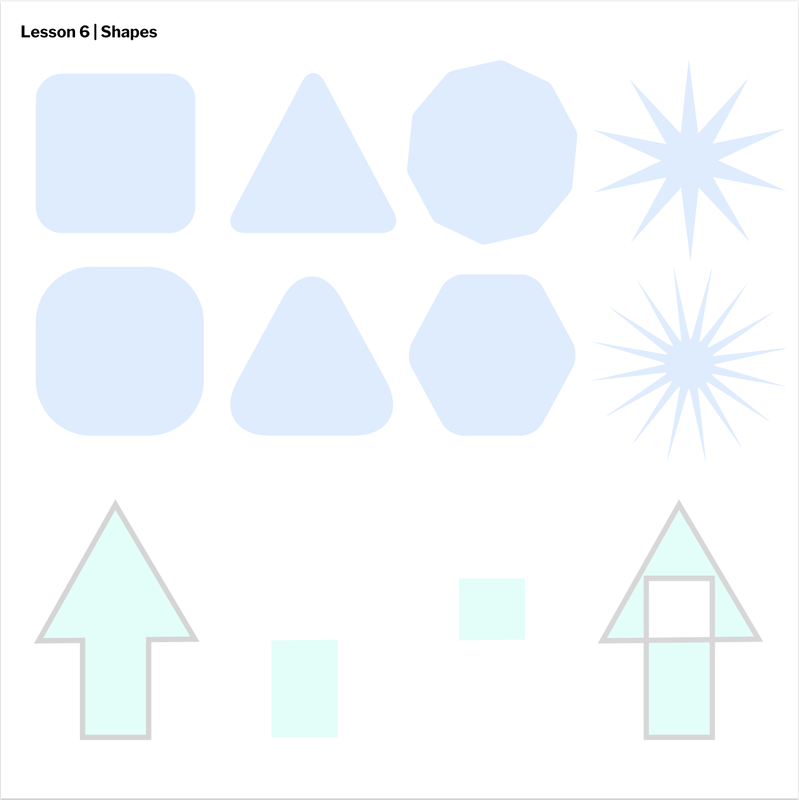 In this lesson, we learned how to layer, group, and align different shapes on Gravit. To do this, you would have to use the alignment tools on the right sidebar, the layers on the left sidebar, and double clicking on the object. To group a set of shapes, you can double click(after selecting all the shapes) and click make a group or simply press command+G. To ungroup, you can double click and select ungroup. When you want to align your shapes, you can use the alignment tools on the right sidebar to align the shapes you want them. A tip you can use when aligning manually is to use the blue lines that appear when you align objects. Finally, to layer the objects, you can either use the keyboard shortcut after selecting the shape/s or move the layers at the sidebar on the left side of your screen. To move the shape all the way down, you would use command+shift+down, and to move it only one layer down, you would only use command+down. It is the same for moving your shape up only with up keys. Here is my work for this lesson. 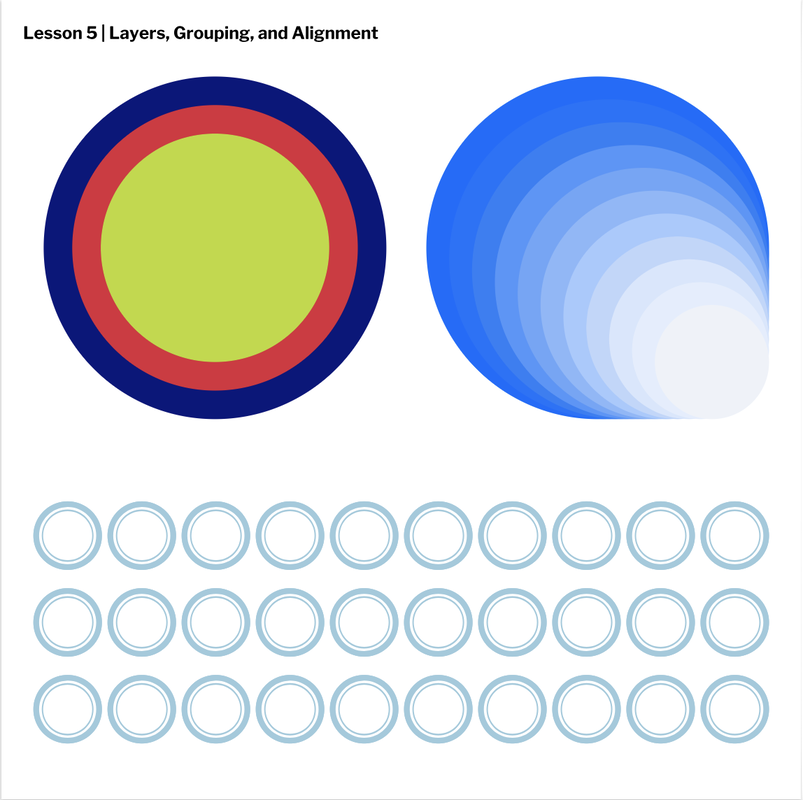 In this lesson, I learned how to adjust the fill and borders of shapes. To do all of this you would have to use the fill and border options on the bar at the right side of your screen. To change your border thickness, you can change the amount of pixels the border would be. To make the border be at a different side of the shape, you would have to go into advanced settings and change the setting to align to inside/outside(center is default). You can also change your border into a dashed line(you can choose the gap and dash length) and the corners of the border. If you would want to change your fill transparency, you can change the opacity using the line or typing your opacity percent in. Also, if your color's background is a checkered background, it means that your shape's opacity isn't a 100%. Here is an example. 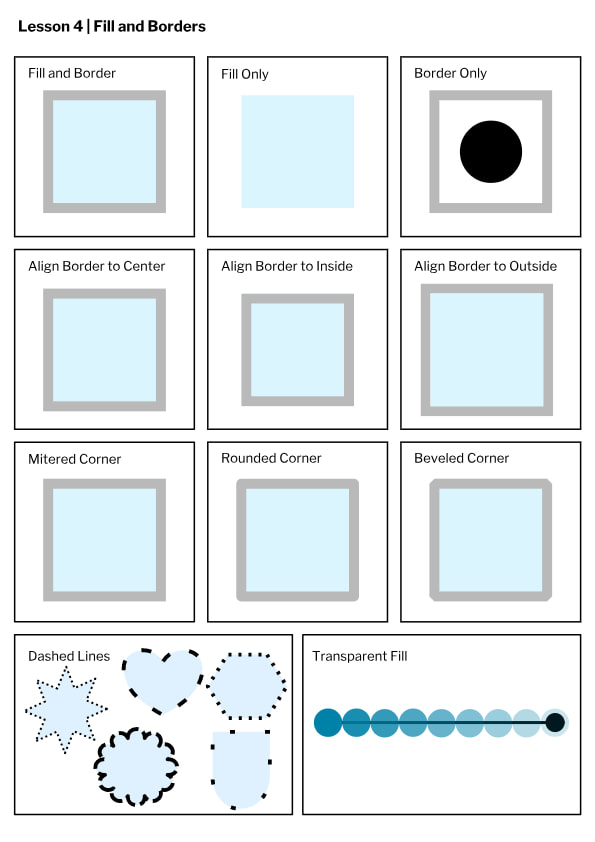 In this lesson about Gravit, we learned how to make simple shapes such as circles and squares on Gravit. To make a shape, you would first have to select the shape making tool and select which shape/line you want to create. After you chose your shape, you can modify it any way you want by changing its color, size, or the border on the bar on the right side of the screen. To change your shape into a more "free" shape, you can change your shape into a path and change the shape. To make your final work into a document, you would have to export your work as a JPEG and as a retina display for it to have a high quality. Here is a picture of my work.  In this project, I was able to learn how to sign up for Gravit and how to use Gravit. Gravit is a site where you can make vector images which are images that are made out of simple mathematical shapes. To sign up for Gravit, you just have to use you gmail account and sign up for free. After you sign up, you just have to click create new and start your project. In this project, I made simple boxes with different sizes, units, and colors. First, to make a box, you would have to simply choose your unit(pixels, millimeters, etc.) and type in your desired size. Second, I chose the color by clicking on the color circle and choosing the color. Third, you can add the text and change the font and color by clicking on the text box. Then you simply repeat the steps by clicking on the add page button(I did this 4 times). Finally to see all your pages in 1 screen, you would have to click on the multipage button. Here is a picture of my work on Gravit. 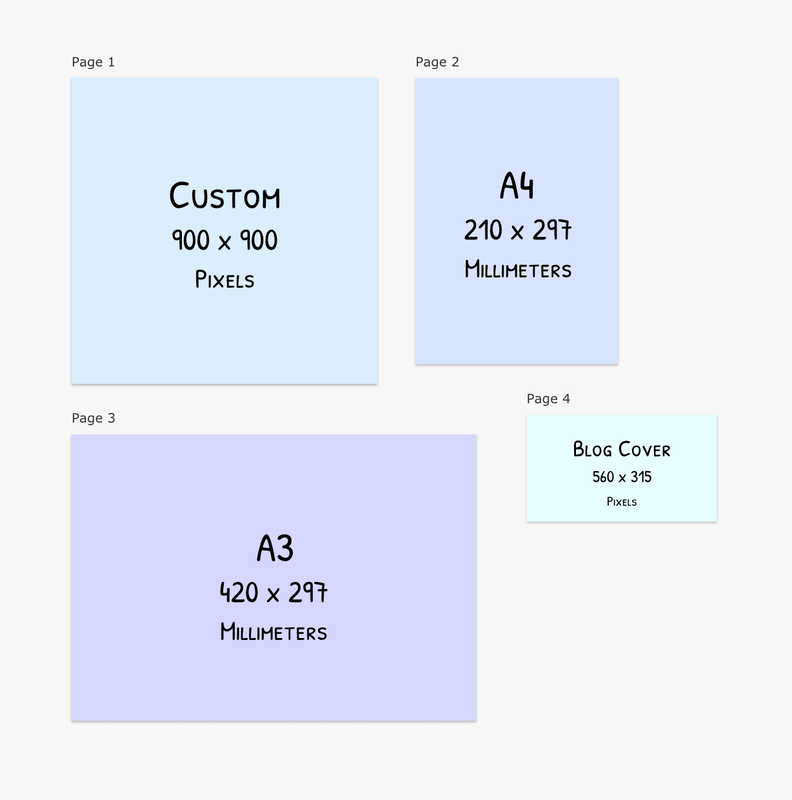 Public DomainYou are free to use anyway you wish. Don't forget to read licenses carefully. Cite sources if necessary.  AttributionYou have to give credit to the owner of the work.  Attribution SharalikeYou have to give credit to the owner of the work and you can't create a new license for the work.  Attribution NoncommercialYou have to give credit to the owner of the work and you can't sell the work.  Attribution Noncommercial sharealikeYou have to give credit to the owner of the work and you can't sell or create a new license for the work.  Attribution noderivsYou have to give credit to the owner of the work and you can't modify the work.  Attribution noncommercial noderivsYou have to give credit to the owner of the work and you can't modify or sell the work.  CopyrightYou may only use a copyrighted work under Fair Use, with permission, or buying the right to use the work. 
Graphic DesignsMy experience with Graphic design
I started learning about graphic design since last year. And I learned about what it is, its purpose, and the requirements for it. I also made some graphic designs(you can see that in my other post) and used google slides, piktochart, and other apps to make images. One project I made was a menu and I put a picture of the logo of the coffee shop I made in my other post. You can see other graphic designs I made in my other post. What is it? Graphic design is a picture/an image that informs people(visual communication). They are eye-catching and is easy to understand using images(visual) and text. Graphic Designs are everywhere in our daily lives like the magazine, logos, packaging, and even on your clothes! Why is it so important? Graphic design is important because it changes the way we communicate our ideas. It can help your ideas spread faster in a much more convenient way. For example, if the cover page of the book was plain and boring, fewer people would want to buy it(unless it's a famous author) since the cover is what(most of the time) people see. But if the cover was eye-catching and interesting, more people would want to read the book/take a look at it. This shows how graphic design can come in handy in many different ways and can impact the product/idea greatly. Conclusions Graphic designs are everywhere in our daily lives like I said before. It helps spread ideas in multiple ways whether it is a group/person's opinions or thoughts, a product, and maybe even a logo. This shows how we would want to understand/learn more about Graphic designs so that we can see more in the world and even use it for our own ideas. |
Archives
April 2019
Categories
All
 This work is licensed under a Creative Commons Attribution-NonCommercial-NoDerivatives 4.0 International License. |
