|
In this lesson, I learned how to make and edit different kinds of shapes. To change the sharpness of the corner of the shape, you can use the slide labeled corners to change it. For other shapes that are not a square, you can change the amount of points there are in the shape by using the points slide. If you would want to change shapes that are overlapping each other you would first have to select both shapes. To make the two or more shapes into one shape, you would have to choose the union button. To get rid of everything in the area of one shape(including the overlapping part), you can use the subtract tool. For only leaving out/subtracting the part where the two or more shapes intersect, you can use the intersect/difference button. You can find all these tools in button that has 2 overlapping squares in the tool bar. Here is a picture of my work. 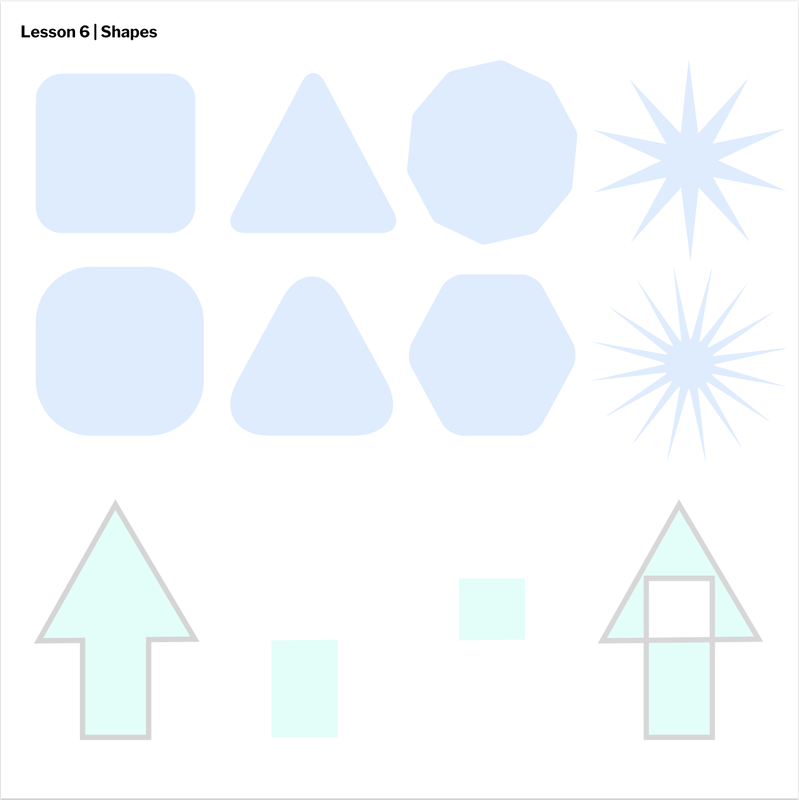
0 Comments
In this lesson, we learned how to layer, group, and align different shapes on Gravit. To do this, you would have to use the alignment tools on the right sidebar, the layers on the left sidebar, and double clicking on the object. To group a set of shapes, you can double click(after selecting all the shapes) and click make a group or simply press command+G. To ungroup, you can double click and select ungroup. When you want to align your shapes, you can use the alignment tools on the right sidebar to align the shapes you want them. A tip you can use when aligning manually is to use the blue lines that appear when you align objects. Finally, to layer the objects, you can either use the keyboard shortcut after selecting the shape/s or move the layers at the sidebar on the left side of your screen. To move the shape all the way down, you would use command+shift+down, and to move it only one layer down, you would only use command+down. It is the same for moving your shape up only with up keys. Here is my work for this lesson. 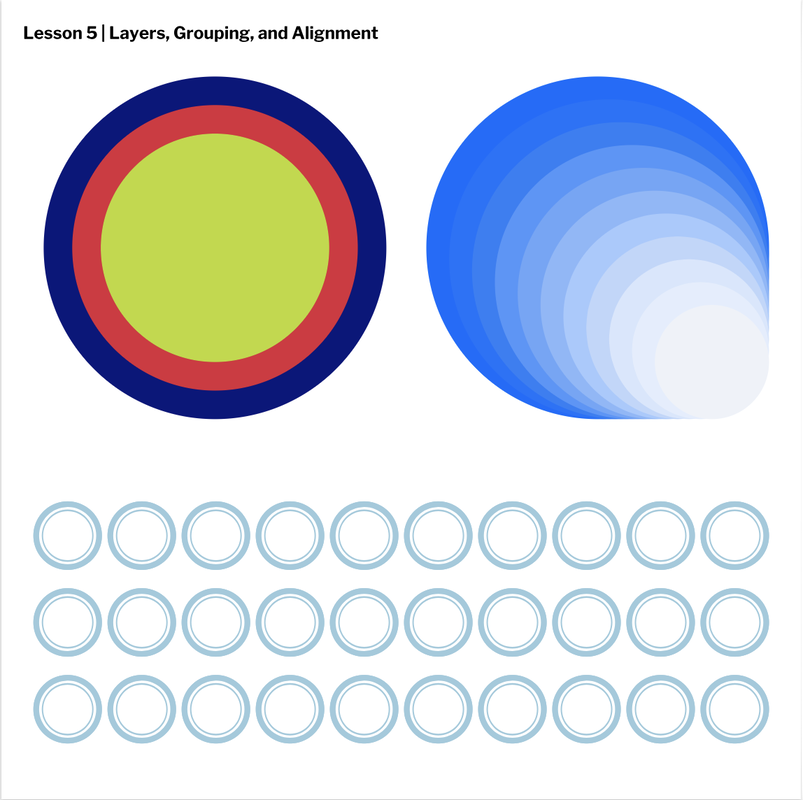 In this lesson, I learned how to adjust the fill and borders of shapes. To do all of this you would have to use the fill and border options on the bar at the right side of your screen. To change your border thickness, you can change the amount of pixels the border would be. To make the border be at a different side of the shape, you would have to go into advanced settings and change the setting to align to inside/outside(center is default). You can also change your border into a dashed line(you can choose the gap and dash length) and the corners of the border. If you would want to change your fill transparency, you can change the opacity using the line or typing your opacity percent in. Also, if your color's background is a checkered background, it means that your shape's opacity isn't a 100%. Here is an example. 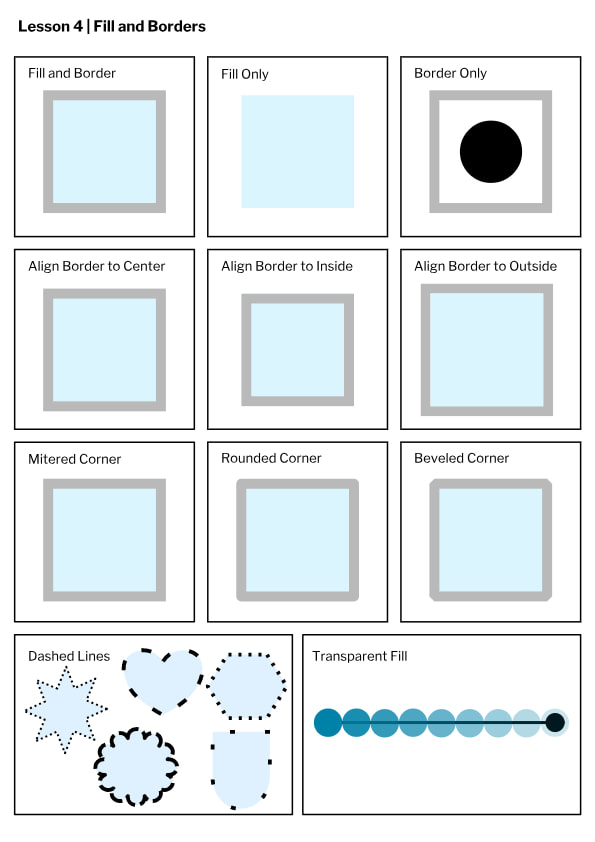 In this lesson about Gravit, we learned how to make simple shapes such as circles and squares on Gravit. To make a shape, you would first have to select the shape making tool and select which shape/line you want to create. After you chose your shape, you can modify it any way you want by changing its color, size, or the border on the bar on the right side of the screen. To change your shape into a more "free" shape, you can change your shape into a path and change the shape. To make your final work into a document, you would have to export your work as a JPEG and as a retina display for it to have a high quality. Here is a picture of my work.  |
Archives
April 2019
Categories
All
 This work is licensed under a Creative Commons Attribution-NonCommercial-NoDerivatives 4.0 International License. |
